

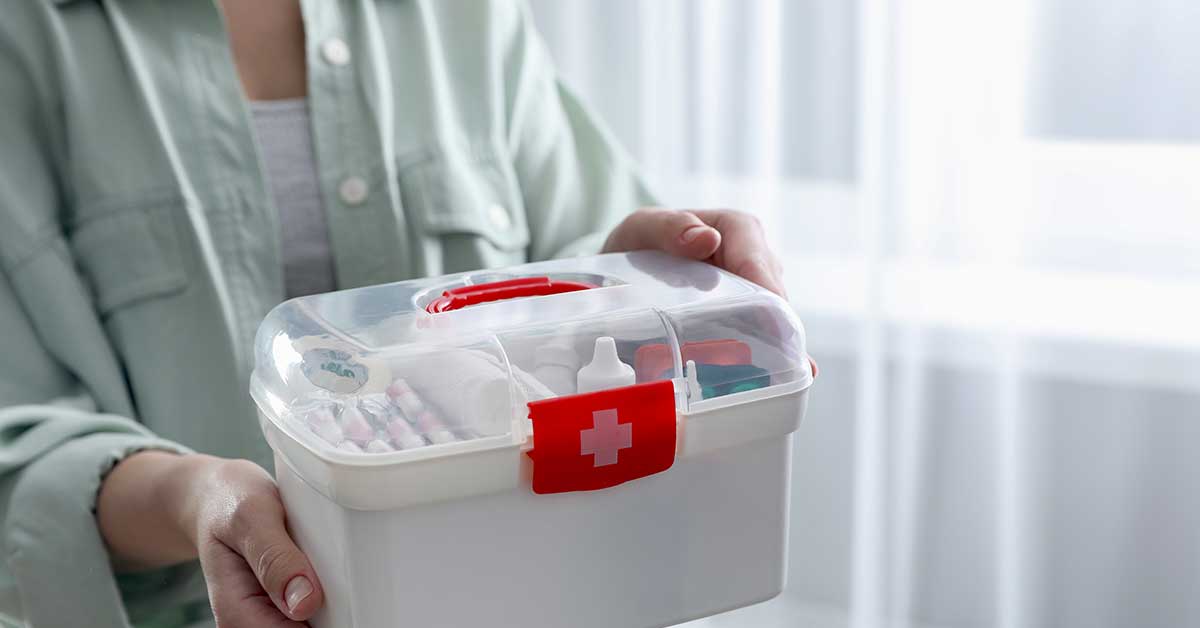
Wound dressings are not optional extras; they’re the difference between smooth healing at home and a slow spiral toward infection, emergency-room visits, and caregiver burnout. Too many families treat wound care like “just slap on a Band-Aid,” then end up dealing with preventable complications. If you’re caring for someone at home, wound care is your job description, whether you signed up for it or not.
Caregivers deserve better, clearer, and more practical guidance than they usually get in a hospital discharge packet. You should know exactly which dressing is on that wound, why it’s there, and how to change it without feeling like you’re defusing a bomb. That’s what this guide is for — no sugarcoating, no vague “watch for signs of infection” without saying what those actually look like at your kitchen table at 10 p.m.
Home Wound Care
Learn how to choose, apply, change, and monitor wound care dressings safely at home as a caregiver.
- What they are: sterile coverings (gauze, films, foams, alginates, hydrocolloids, hydrogels) selected by wound type, moisture level, and infection risk.
- How to use them: choose by wound moisture and location, clean with saline, apply and secure properly, change when saturated or per clinician instructions, and remove gently to avoid trauma.
- What to watch: expect less drainage and pain as healing progresses; contact a clinician for increased pain, spreading redness or swelling, fever, foul odor, heavy pus, or wounds that fail to improve.
What You Should Know About Wound Dressings
Most caregivers first meet wound care in chaos: post-surgery, after a fall, or during a long fight with a pressure injury or diabetic ulcer. You leave the hospital with a bag of supplies, a scribbled instruction sheet, and a lot of anxiety. Nurses change dressings in 30 seconds with calm confidence; at home, you peel back the tape and suddenly the stakes feel impossibly high.
The blunt truth: you can absolutely learn to do this safely and well — but only if someone explains the why, not just the what. Dressings aren’t random pads; they’re carefully chosen tools that control moisture, protect delicate tissue, manage infection risk, and support comfort. Once you understand the reason behind each choice, you stop guessing and start caregiving with authority.
According to research published in Advances in Wound Care, as much as 50–60% of wound care now happens outside hospitals, in homes and long-term care settings. Families, not just clinicians, are on the front lines — yet many caregivers report feeling barely trained at discharge. If that’s you, nothing is wrong with you. The system just wasn’t built around your reality.
Insider Tip: If no one told you the exact dressing name and how often to change it, call the clinic and ask. “Just keep it clean and dry” is not a wound care plan.
What Is a Wound Dressing?
A wound dressing is any material placed directly over a wound to protect it and support healing. Sounds simple; it isn’t. A modern dressing is more like a tiny ecosystem manager, balancing moisture, temperature, oxygen, and bacteria in a way damaged skin can’t do on its own.
Coming home after major surgery, families often expect “bandages” and instead meet foam dressings, transparent films, and something the nurse calls an “alginate” that looks suspiciously like seaweed. It feels like learning a new language under pressure — until it becomes clear that each type was chosen because different wounds (a chest incision, a leg harvest site, a small drainage wound) need different healing environments.
Clinically, dressings are classified as primary (touching the wound) or secondary (holding everything in place and adding protection). Gauze might be primary on a minor cut but secondary when it’s just securing an advanced gel or foam dressing. Once you see dressings as systems rather than single objects, the variety stops being intimidating.
Why Are Dressings Used?
Dressings serve four main purposes, and if a product isn’t doing at least one of these, it’s the wrong one: protection (shielding the wound from dirt, friction, and bacteria); moisture balance (preventing drying out or waterlogging); absorption or hydration (soaking up excess drainage or adding moisture to a dry wound); and comfort and stability (reducing pain, supporting fragile tissue, keeping edges from reopening).
The old belief that wounds need to be “open to the air” to heal is, in most cases, flat-out wrong. Numerous studies, including classic work summarized by the National Library of Medicine, show that moist wound healing leads to faster closure, less scarring, and lower infection risk than leaving wounds to dry out. The right dressing is how you achieve that controlled moisture. A family that leaves a pressure injury open between changes because it “looks better dry” is usually watching a scab form over dehydrated tissue — a crust trapping unhealed tissue underneath. Switching to moisture-managing foam on a schedule is often when the wound finally starts to shrink instead of just hardening.
Insider Tip: If you see a hard, crusty scab over a deep wound, don’t assume that’s success. Deep wounds often need moisture and protection, not a brittle shell.
What Are the Different Types of Dressings?
You don’t need to memorize every brand, but you do need to recognize the category in your supply bag.
1. Gauze. Plain woven or non-woven squares or rolls. Best for: short-term coverage, secondary dressings, packing some deeper wounds when specifically instructed, or quick temporary protection. Downside: it sticks if it dries out and can tear away new tissue on removal, and it manages moisture poorly compared with modern options. Peeling a dry gauze pad off a healing abdominal wound can take fresh tissue with it and set the wound back immediately — if gauze is used as a primary dressing, it usually needs to be slightly moist or paired with a non-stick layer.
2. Transparent film (Tegaderm-style). Thin, clear, sticky sheets that let you see the skin underneath. Best for: shallow wounds with minimal drainage, IV sites, and protecting intact but fragile skin. Downside: completely wrong for heavily draining wounds — they trap fluid and cause maceration (white, waterlogged, fragile skin). They’re popular after minor surgery because you can shower with them, but leftover film on a draining leg ulcer can leave the surrounding skin pale, mushy, and larger within two days.
3. Foam dressings. Soft, cushiony pads, some with adhesive borders. Best for: moderate-to-heavy drainage, pressure injuries, and areas needing cushioning (heels, sacrum). Downside: can dry out very low-drainage wounds, and mis-cut adhesive edges can irritate skin. Foams are the workhorses of home wound care because they absorb a lot while keeping the wound moist; switching a pressure ulcer from daily gauze to foam changed every three days can dramatically reduce both caregiver workload and patient pain.
4. Hydrocolloid dressings. Flexible, slightly sticky wafers that form a gel on contact with wound fluid. Best for: shallow-to-moderately draining wounds where you want longer wear time (sometimes 3–7 days, depending on drainage). Downside: not for infected or heavily draining wounds, and they look goopy when they gel. Often used on pressure wounds and some diabetic foot wounds once infection is ruled out; the thick gel underneath can look like pus, but that’s the dressing doing its job.
5. Hydrogel dressings. Clear gels or gel-impregnated sheets. Best for: dry or minimally draining wounds needing moisture, such as some burns or older pressure injuries with dry, stubborn tissue. Downside: they need a secondary dressing and will over-moisturize an already-wet wound. Hydrogels can revive dry leg ulcers that haven’t budged in weeks, but they’re often misused by people who assume “moist is always better” without checking how wet or dry the wound already is.
6. Alginate dressings. Seaweed-derived ropes or pads that gel on contact with fluid. Best for: moderate-to-heavy drainage, including some surgical sites and pressure injuries. Downside: wrong for dry wounds (they need moisture to work) and always require a secondary dressing. Alginate ropes are commonly packed into tunneling or deep wounds at discharge — and they’re strictly single-use. No rinsing and reusing to stretch supplies.
7. Antimicrobial dressings (silver- or iodine-impregnated). Best for: wounds at high infection risk or with early signs of localized infection, as directed by a clinician. Downside: not always necessary; overuse is wasteful and sometimes irritating. According to guidelines from the Wound Healing Society, antimicrobial dressings should be part of a targeted plan, not a default. If everything in your kit is antimicrobial, someone may be compensating for poor technique or an unclear diagnosis.
Insider Tip: Never assume two products that look similar are interchangeable. Foam with silver and plain foam are cousins, not twins. Check the label and the plan.
How Do I Choose the Right Dressing?
Ideally, the provider or wound clinic gives you a clear prescription: dressing type, change frequency, and duration. In reality, caregivers often improvise when supplies run low or insurance only covers certain products. The rule to live by: match the dressing to the wound’s depth, drainage, and risk. Ask: Is the wound shallow or deep? Is drainage none, light, moderate, or heavy? Any sign of infection (odor, redness, warmth, increased pain, pus)? Is the surrounding skin fragile or intact?
Then think in broad strokes: shallow with minimal drainage → film or thin hydrocolloid; moderate drainage → foam or alginate, often under a secondary dressing; heavy drainage → alginate or high-absorbency foam, possibly changed more often; dry wound → hydrogel or a non-adherent contact layer under a secondary dressing; high infection risk → an antimicrobial element if prescribed. According to home-care studies discussed in the Journal of Wound Care, matching dressing type to drainage level significantly reduces change frequency and improves caregiver satisfaction. The better the match, the less often you handle it and the more comfortably the wound heals. If you’re juggling other complex care — catheters, transfers, incontinence — build a dressing plan that’s clinically sound and realistic for your day.
Insider Tip: While you’re still at the hospital, ask: “If insurance won’t cover this exact brand, what type of dressing can I substitute?” — and write it down.
How Do I Change a Dressing?
Dressing changes are where most caregiver anxiety shows up. The good news: the process is predictable. The bad news: rushing or improvising causes problems later. The reliable sequence is: prepare your supplies; wash your hands thoroughly; remove the old dressing carefully; inspect the wound and surrounding skin; clean the wound as directed; apply the new dressing properly; secure it and document what you saw. The first few times may take 20–30 minutes — that’s fine. Even experienced caregivers slow down on complex wounds, because each step is a chance to help or harm. If your loved one also uses equipment like a walker, commode, or adjustable bed, set up a functional care zone where changes can happen safely with everything within reach.
How do I remove an old dressing?
Removal is where accidental damage most often happens. The aim is simple: take off the dressing, not the skin. Wash your hands and use gloves if provided. Gently lift an edge; if it’s tape-based, press down on the skin while lifting the tape to reduce pulling. If it sticks, moisten the edge with sterile saline or wound cleanser unless told otherwise — for films or hydrocolloids, stretching the dressing parallel to the skin (not upward) helps release it. Watch your loved one’s face; if they wince or tense, slow down or moisten more. Ripping a foam dressing off fragile skin over a hip pressure injury the way you’d pull a bandage off an elbow scrape can create weeks of irritation from the removal alone. Save the old dressing if your clinician asked to see it (especially with unusual odor or drainage); otherwise discard it in a lined bin and wash your hands again.
Insider Tip: If you’re fighting with the dressing, you’re doing too much. The right dressing at the right time comes off with minimal drama.
How do I clean the wound?
Wound cleaning is not a free-for-all. Whatever a well-meaning relative says, do not reach for hydrogen peroxide, iodine, or alcohol unless a clinician specifically instructed it for a short-term purpose — these agents kill healthy cells and delay healing. Most home protocols use normal saline (0.9% sodium chloride), the standard gentle choice, or a prescribed wound cleanser when infection risk is higher or biofilm (a slimy bacterial layer) is suspected.
Wash your hands and glove up if provided. Moisten sterile gauze or use a single-use saline ampule. Wipe gently from the cleanest area to the dirtiest (often center outward or top to bottom), using a fresh piece of gauze for each pass if the wound is dirty. Don’t scrub — think gentle, thorough rinse, not scouring pad. For deeper wounds you may be shown how to irrigate with a syringe, applying enough pressure to clean without blasting tissue; if no one demonstrated this before discharge and you’re unsure, ask for a teaching visit. If the wound is near the perineal area and your loved one deals with incontinence, preventing contamination becomes a central part of the routine.
How do I apply a new dressing?
This is where wound type, dressing choice, and technique come together. Dry the surrounding skin gently (not the wound bed, unless directed). Apply any prescribed topical — antibiotic ointment or barrier cream — only where instructed. Place the primary dressing directly over or into the wound: for deeper wounds requiring packing (like alginate ropes), fill the space loosely — never stuff or cram, since overpacking increases pressure and delays healing; for flat dressings, center them with at least 1–2 cm (about ½–¾ inch) of margin around the wound. Add any secondary dressing as instructed, then secure with tape or adhesive borders — but avoid circling an entire limb tightly, which can impair circulation. A full spiral of tape around a lower leg can act like a tourniquet, leaving marks and swelling below it; when in doubt, anchor edges with shorter strips instead.
Insider Tip: Packing is about filling dead space so fluid doesn’t pool, not about plugging a hole. If you’re pushing hard, you’re doing too much.
What Should I Look for When Changing a Dressing?
Every dressing change is a mini check-up, and you’re the first line of defense against delayed healing and infection. Get in the habit of answering four questions.
- Has anything changed since last time? Size, depth, color, odor, drainage amount.
- How does the wound bed look? Good signs: beefy red or pink tissue, minimal clear or slightly yellowish drainage, edges gradually pulling in. Concerning: increasing black or yellow tissue, grayish or dull color, or a foul odor that persists after cleaning.
- What about the surrounding skin? Good: intact, normal color, not overly soft or whitish. Bad: red, hot, swollen, itchy, or macerated (white and soggy).
- How is your loved one feeling? New or worsening pain, fever, chills, or a general “I feel really off” can signal infection even before the wound looks dramatic.
If you’re caring for someone with dementia or cognitive impairment, changes can be subtler — more agitation, refusing care, or picking at the dressing may be early clues. Documenting with a simple notebook or phone photo (if allowed, and with consent) is powerful; many wound clinics rely on caregiver photos to track healing between spaced-out visits.
Insider Tip: Clinicians would rather get a call a week too early than a week too late. If redness is spreading, pain is spiking, or you’re changing soaked dressings every few hours, pick up the phone.
Additional Resources
Wound care rarely happens in isolation. It’s usually part of a bigger picture — aging in place, managing multiple conditions, and juggling equipment and supplies. A few threads worth pulling as you build a sustainable setup: room-by-room home safety changes that reduce the falls and skin tears that start the wound cycle in the first place; understanding how to choose and use equipment like adjustable beds, wheelchairs, and lifts to reduce pressure-injury risk; learning what home medical equipment your insurance covers so you can afford quality dressings instead of improvising with whatever’s cheapest; working with a support coordinator if juggling specialists and home care has become overwhelming; and consolidating your consumable medical supplies so the right dressings, tapes, and cleansers are always on hand instead of requiring a pharmacy run every few days.
Insider Tip: Your energy is a limited resource. Anything that turns wound care into a predictable routine — not an emergency scramble — protects both you and the person you love.
References
For deeper dives into wound science and caregiver practice: the evidence behind moist wound healing summarized in the National Library of Medicine’s wound care literature; clinical practice recommendations from the Wound Healing Society; and practical management strategies and case studies in journals like Advances in Wound Care and the Journal of Wound Care. These are clinician-focused, but many caregivers find them empowering once they’ve got the basics down.
Bringing It All Together
Home wound care isn’t about perfection; it’s about competent consistency. If you understand what a dressing is, why it’s chosen, and how to change it without panicking, you’re already ahead of what many caregivers are ever taught. This guidance shouldn’t live on a hospital pamphlet — it belongs in your actual day-to-day practice, where your decisions have immediate consequences.
None of this is easy. Dressing changes can be messy, emotional, and sometimes scary. But with the right knowledge, you move from feeling like an amateur guessing with tape and gauze to being a key member of your loved one’s healing team. You begin to trust your eyes when a wound looks better, and your instincts when something feels off. Most importantly, you stop seeing dressings as mysterious products and start seeing them as deliberate tools you know how to use. That confidence — grounded in real understanding, not blind faith — is what turns home wound care from a constant crisis into a manageable, even meaningful, part of caregiving.